My family recently returned from a week spent in Orlando, Florida and boy am I exhausted! We fit a LOT in to one week and most of it is documented in iPhone pictures. I knew we would be on-the-go at a break-neck speed most days and carrying a heavy DSLR would not be an option for me. The size and convenience of a smartphone just makes sense to me especially for a long day at a Disney Theme Park.


 I want my children to have the ability to pick up a photo album and reminisce as soon as possible. Pictures with Elsa and Anna from Frozen did not come easily so I want my daughter to enjoy looking at them (without my phone handy) as much as possible. I have a phone full of pictures so now what?


 I want to share with you how I make a quick photo album of my iPhone pictures. I’m sure I don’t have to add a disclaimer that these are not the professional custom albums I offer my clients and only what I use to save everyday moments with my family. I don’t display them as coffee table books or investment pieces and reserve them for my children. My kids get excited when new books arrive in the mail and the best part is I don’t need my computer to create them!
I have 2 apps I primarily use. One is on my iPhone and the other is on my iPad:
Shutterfly for iPhone and Shutterfly Photo Story for iPad
You can find details about other Shutterfly Mobile Applications and Android HERE.
I also use Smugmug.com’s app quite often but it is because of the photo book feature for iPad that I use Shutterfly for making books from my mobile devices. Other companies to explore to print directly from your mobile devices: Mosaic, Postagram, Blurb, PostalPix and Photobin. I expect there will be more and more options popping up for personal phone printing.


What I do to turn my iPhone pictures into a Photo Book
First: Go through and delete the pictures on your phone you do not want to save. If you have a series of 10 pictures of the same thing trying to get the best shot, save only the best one or two of them. You don’t need them all and it will create too much visual clutter and make things harder if you don’t do this step. (I’m guilty of saving too much.)
Next: I regularly upload iPhone pictures directly to Shutterfly using their iPhone app. This is habit for me now and with Wi-Fi it happens very quickly. I usually upload any photos taken from the day when I plug my phone in to charge overnight. Pictures upload into appropriate folders that I create and name. For this last trip, my folder is named “2014 Orlando Trip” and all pictures from the trip go into that one folder. You can name these file folders of pictures anything you would like. Name them by date, event, activity, child, holiday, etc. I keep my folders very general like “2014 Summer” for every day pictures and more specific for special occasions as in “2014-06 Dance Recital.” I think of what kind of book I want to make when I name the folder. You will note I have the year listed first because I have had my Shutterfly account for 12 years and I find it is easier to locate pictures if you can at least start with the year. By using the specific folders, I have all the pictures for a photo book in one place when I am ready to get started.


 I wish I could plan ahead and work on my books as I go. However, my method is to make a book all at once in a single night while watching late night TV. This is where my iPad comes in handy. By using Shutterfly Photo Story for iPad I can access my Shutterfly account and everything I need for the book I want to make. If you go directly to Shutterfly.com, the books available for design have more options and features than the iPad version so you might want to use a laptop and try it that way. I will occasionally do that but because I am not trying to make great works of art, I find the iPad is easier for me to get the job done. I just want a fast way to add to my children’s library of memories. The iPad app will try to make the book for you based on the pictures you choose for it. That is super fast! I like to cram as many photos and notes on a page as I can so I usually customize it myself.
What size book should you use? 8×8? 8×11? 12×12? There is no right or wrong here. It is preference. Take a look at what is available and my recommendation is to choose a hardcover book for longevity and be consistent so future books can sit nicely on a shelf together. I choose the 8×8 books mostly because that is what I already have and have been making for years. I also love the square shapes and I feel like they are easier to fit into little hands for viewing. They are rarely ever too tall for a bookshelf either. The size of book is always the same for me but the style and way I create each book varies greatly. Be creative!
Whatever method or printer you choose, the goal is to get the pictures off your phone before they are lost forever on your hardrive or way up in the Cloud. Where is the Cloud anyway?! I think you get the idea!
Very important step: Throw perfectionism out the window and just get going! This will be harder for some more than others. Procrastination can be a problem when you don’t know where to start. Work backwards by making your first book from something very recent (and not something 2 years ago). Caption what is happening with pictures without the pressure of writing something beautiful or meaningful on every page. I hope this helps motivate you to give it a try. Your family will love it! Good luck!


 Investment depends on what book you choose to design and if you add pages to the 20 that are included. It can be as low as $25 or up to $75 if you make it a really thick book so I think somewhere in the middle of that amount is typical. I will be posting information on other favorite phone apps soon. I want to share how you can edit your own photo pictures and other easy ways to organize them.

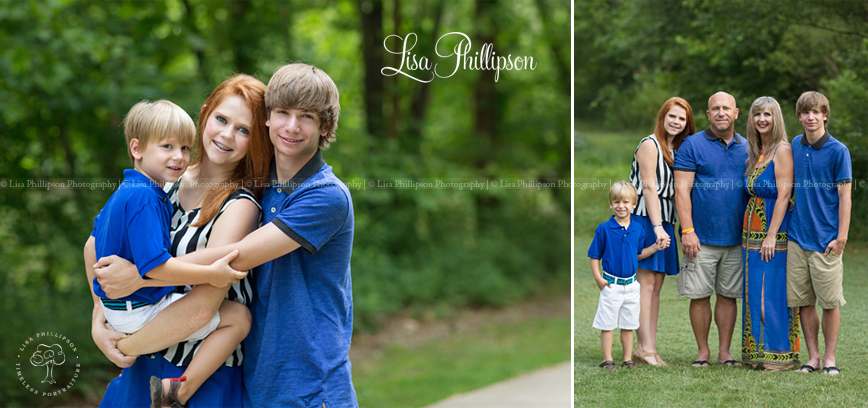

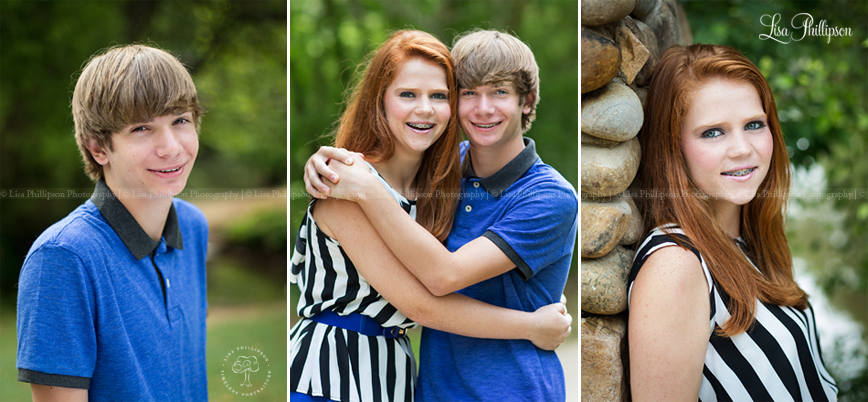

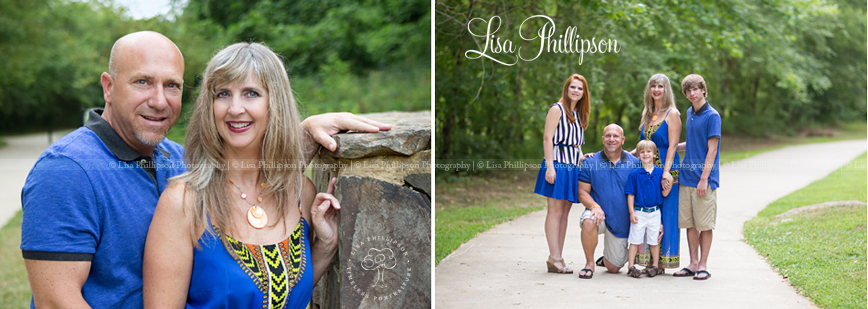 Handsome boys, sweet family, my favorite color–blue, and some gorgeous red hair makes this a special summer session share for me. I loved meeting this family and documenting them at this time in their lives. It really is a milestone for their youngest going back to school for his last year in preschool. As teenagers, this is also a special time. They will be Seniors in High School before they can even believe it. In not even 3 years the portrait of this family will look very different so glad we captured them this summer. Lucky for us we enjoyed one of Atlanta’s very cool mornings on this day. I have lucked out with many of them this summer. I don’t guess we will ever escape the humidity? 😉
